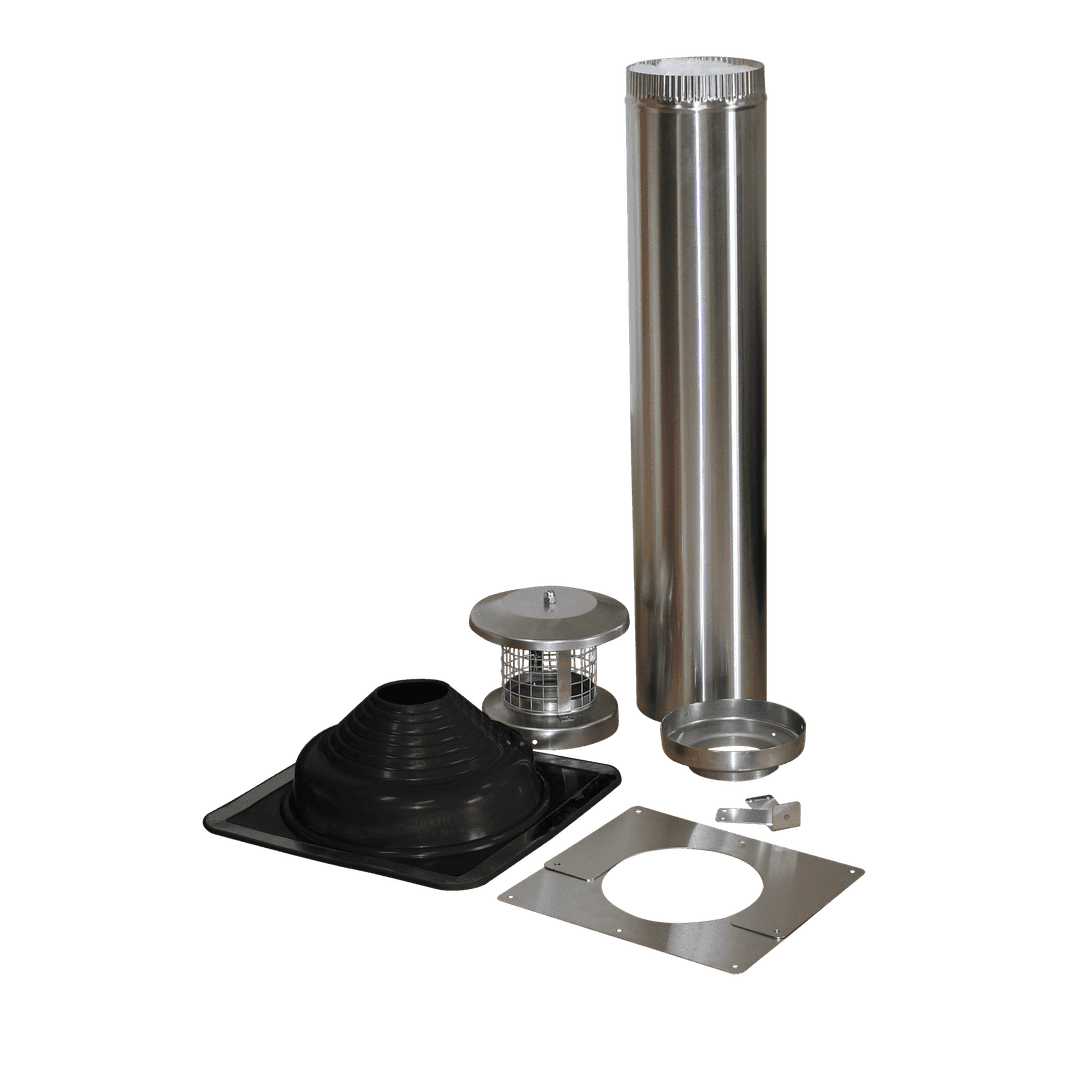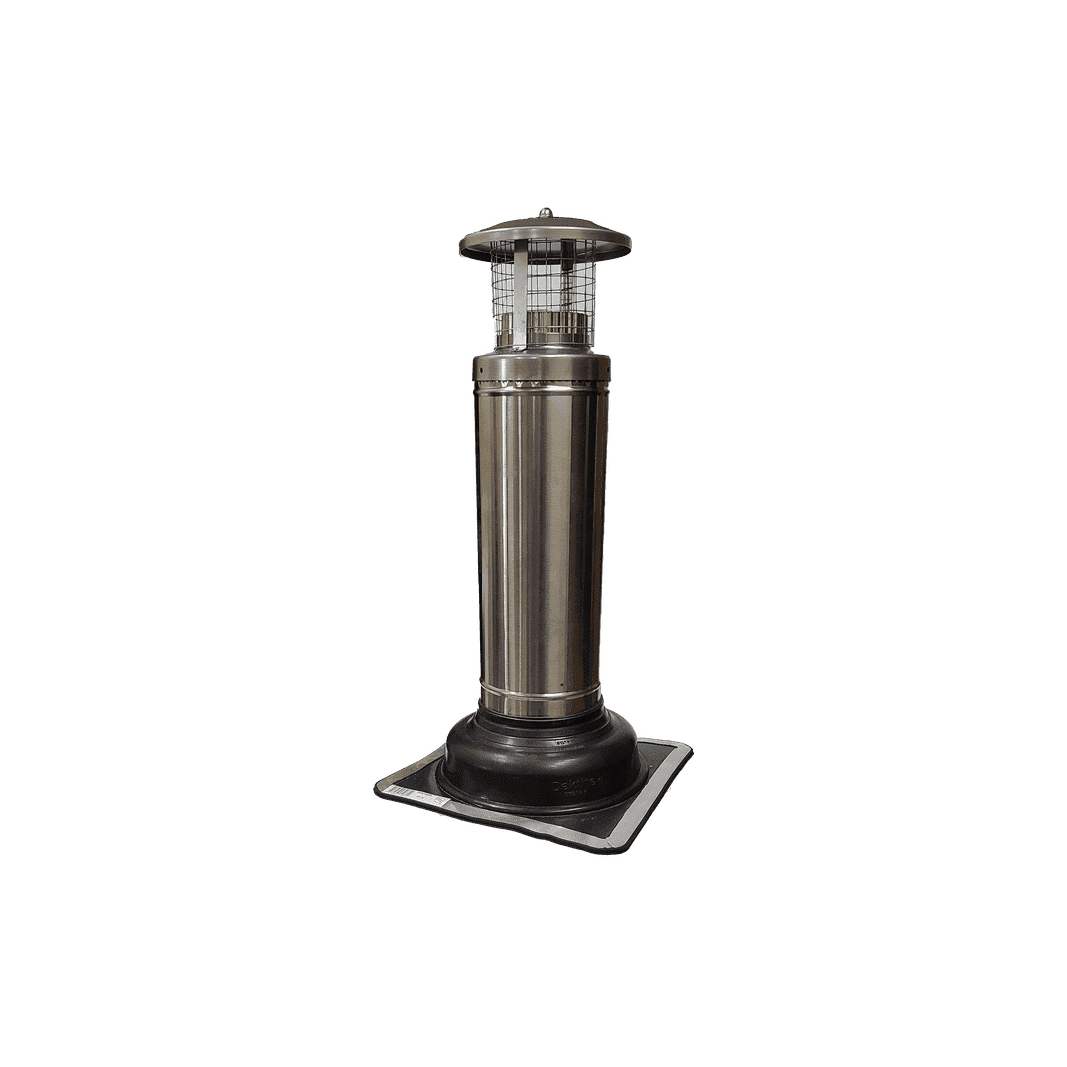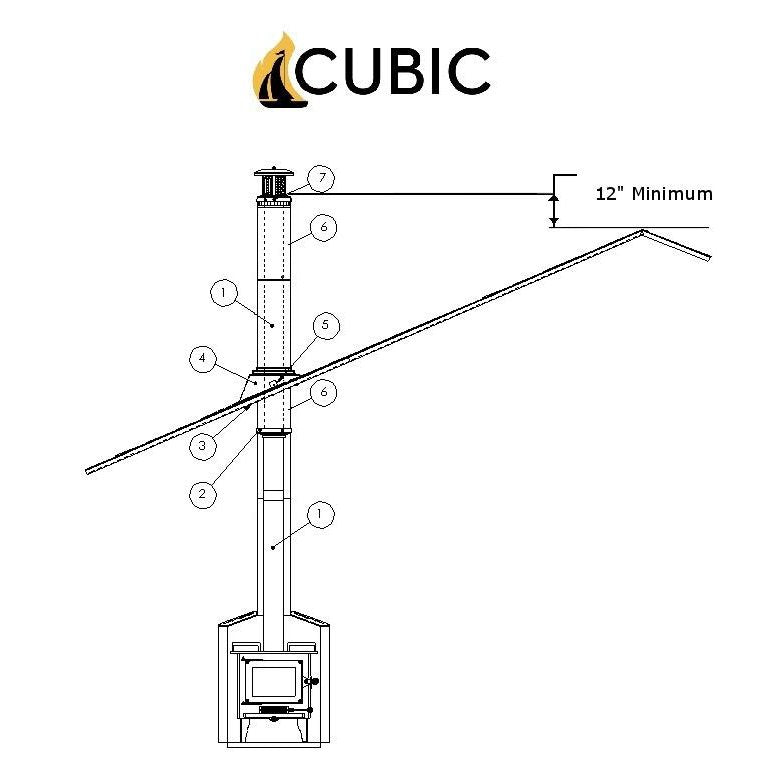

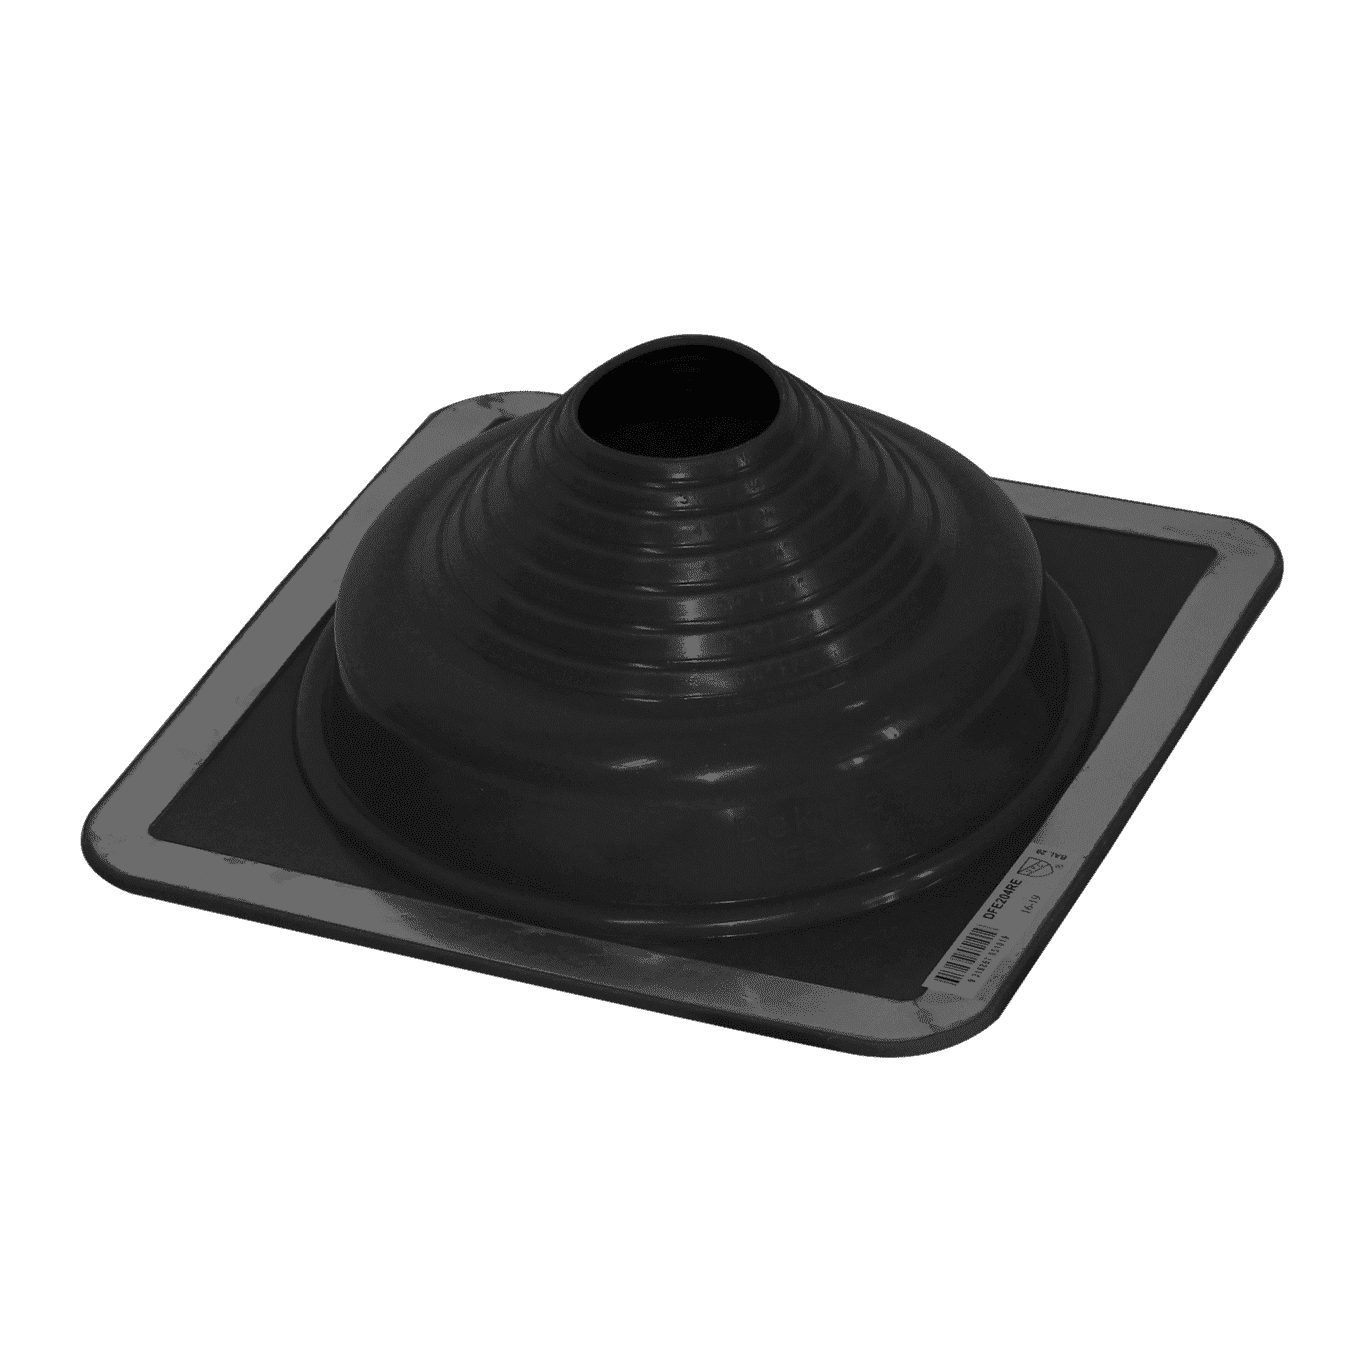


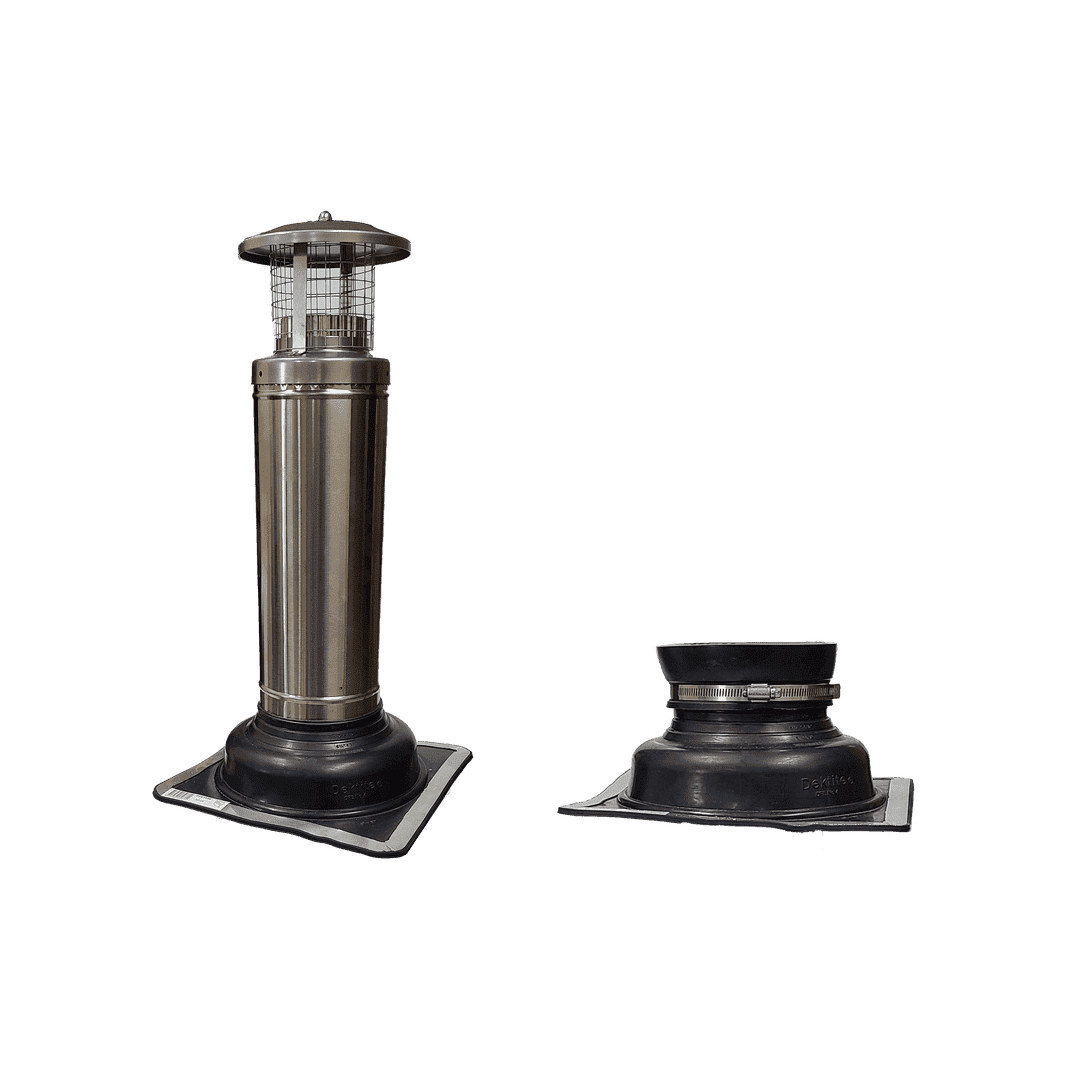


The exit kit required is dependent of the roof material. For shingled roofs you would use the shingled roof exit kit CB-6001-SR. For almost all other roofs you should go with the metal roof exit kit CB-6000-MR. The boots offered in the kits are good for roofs up to 45 degrees. Roofs that are steeper than 45 degrees will need to acquire the same boot but in a larger diameter to be able to accommodate the steeper pitch.


FAQ
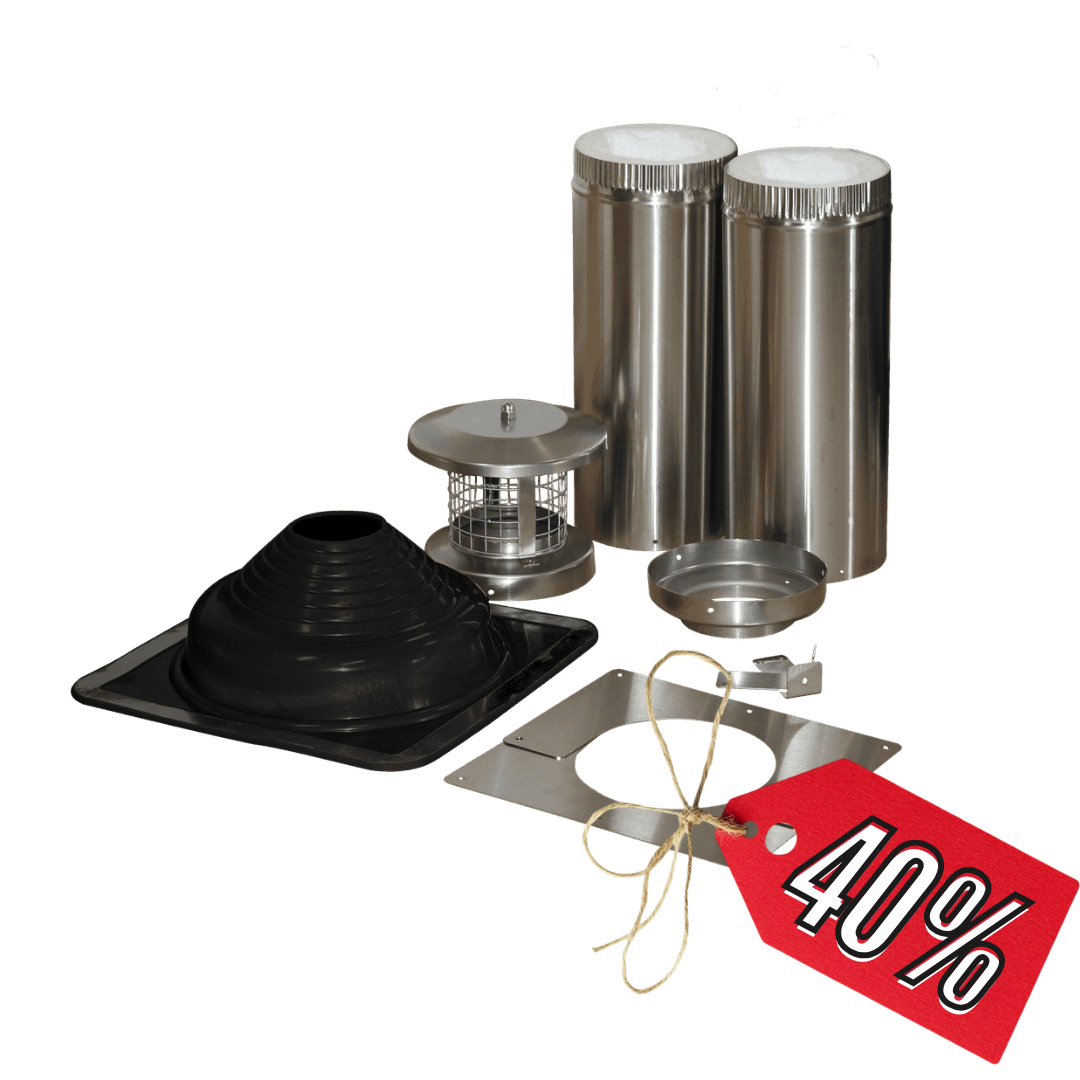
Exit Kit
Which exit kit should I get?
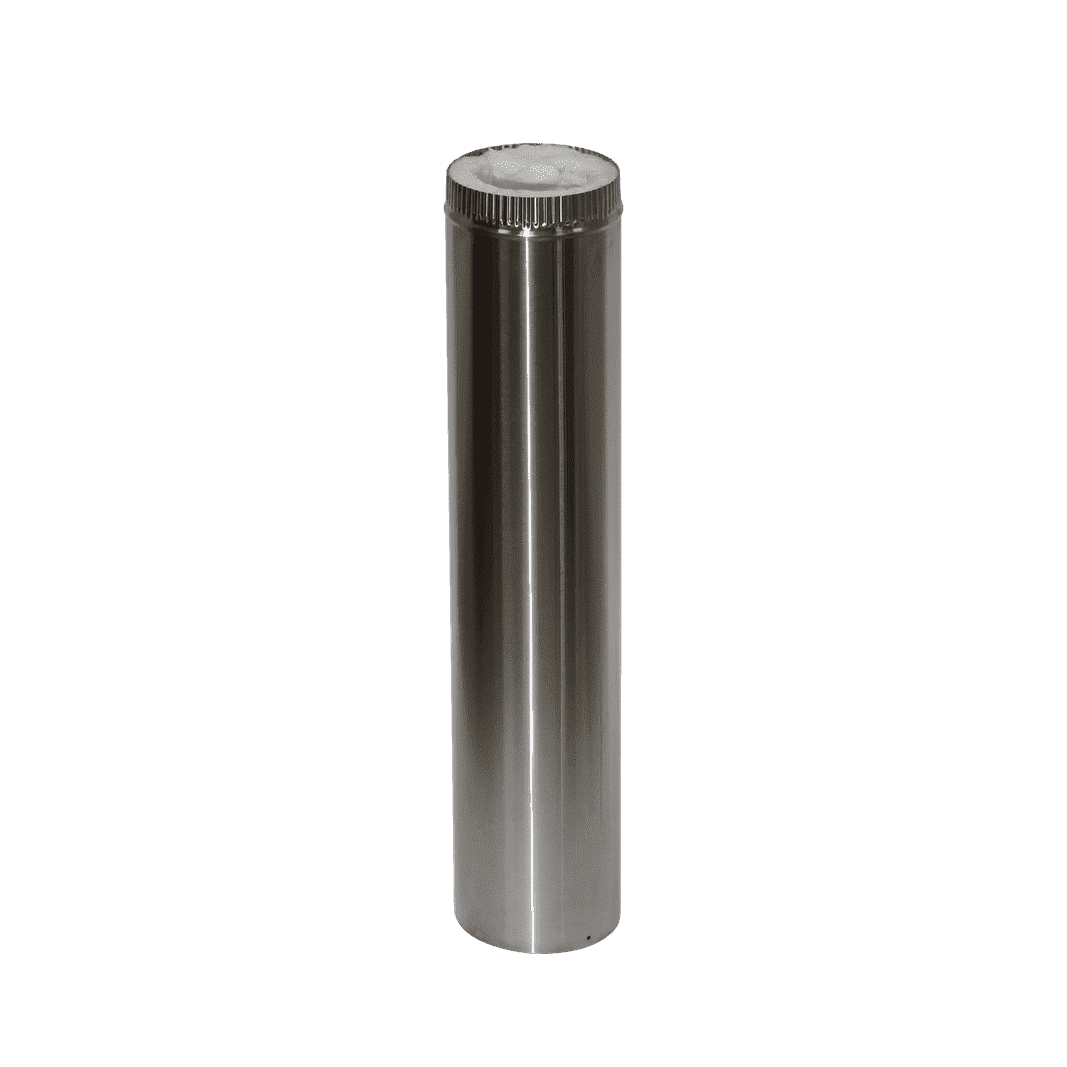
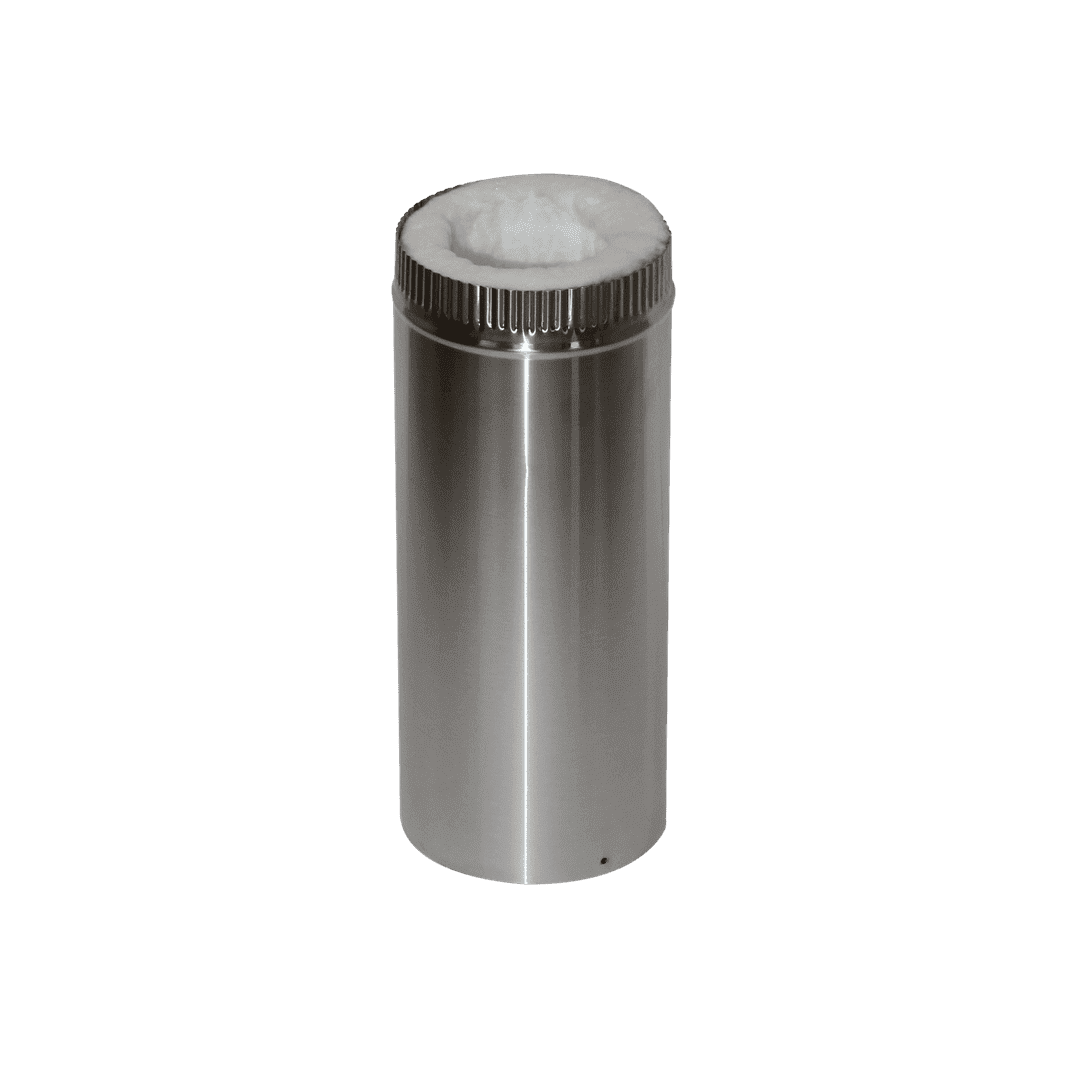
What is the 5” insulated pipes (CB-5024/CB-5012) for?
Does the 3” pipe (CB-3024/CB-3012) go through the 5” insulated pipe (CB-5024/CB-5012)?
What comes with the exit kit?
What hardware is included?
How much of each pipe do I need?
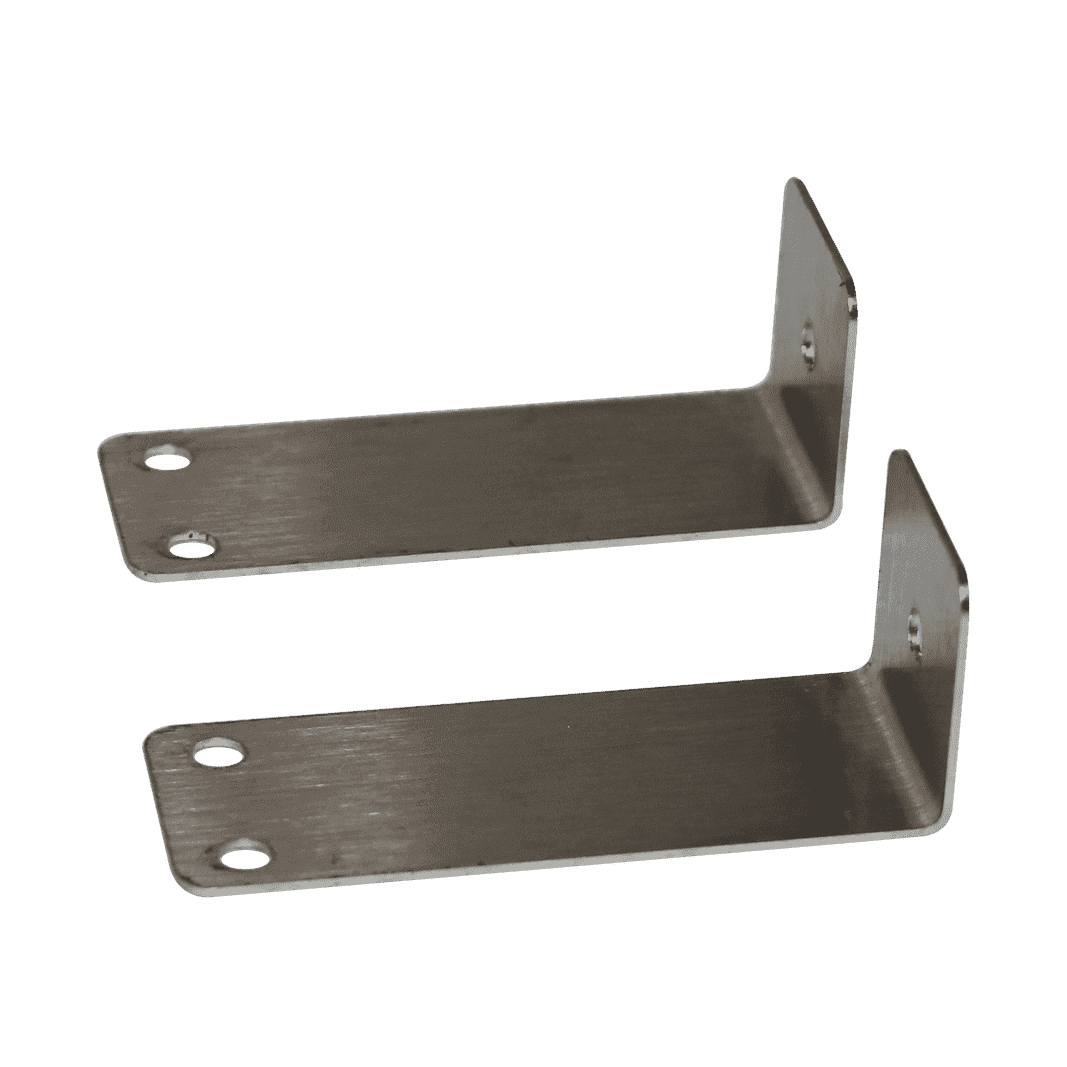
Where do the support brackets (CB-3027) go?
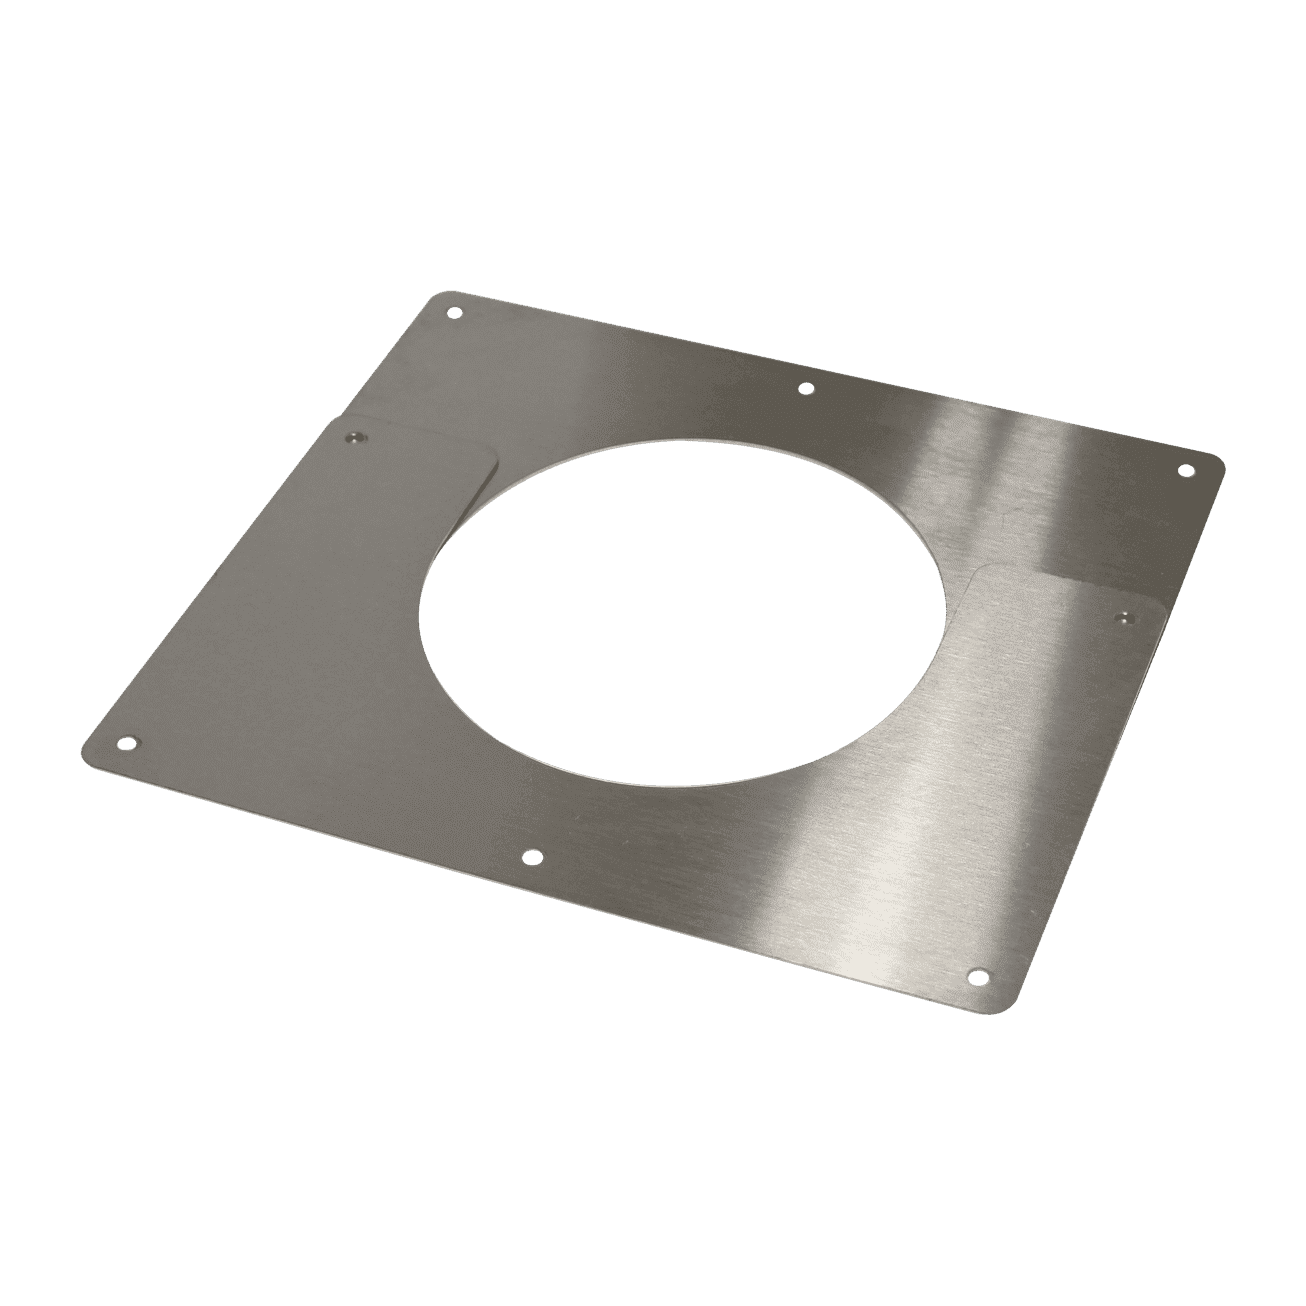
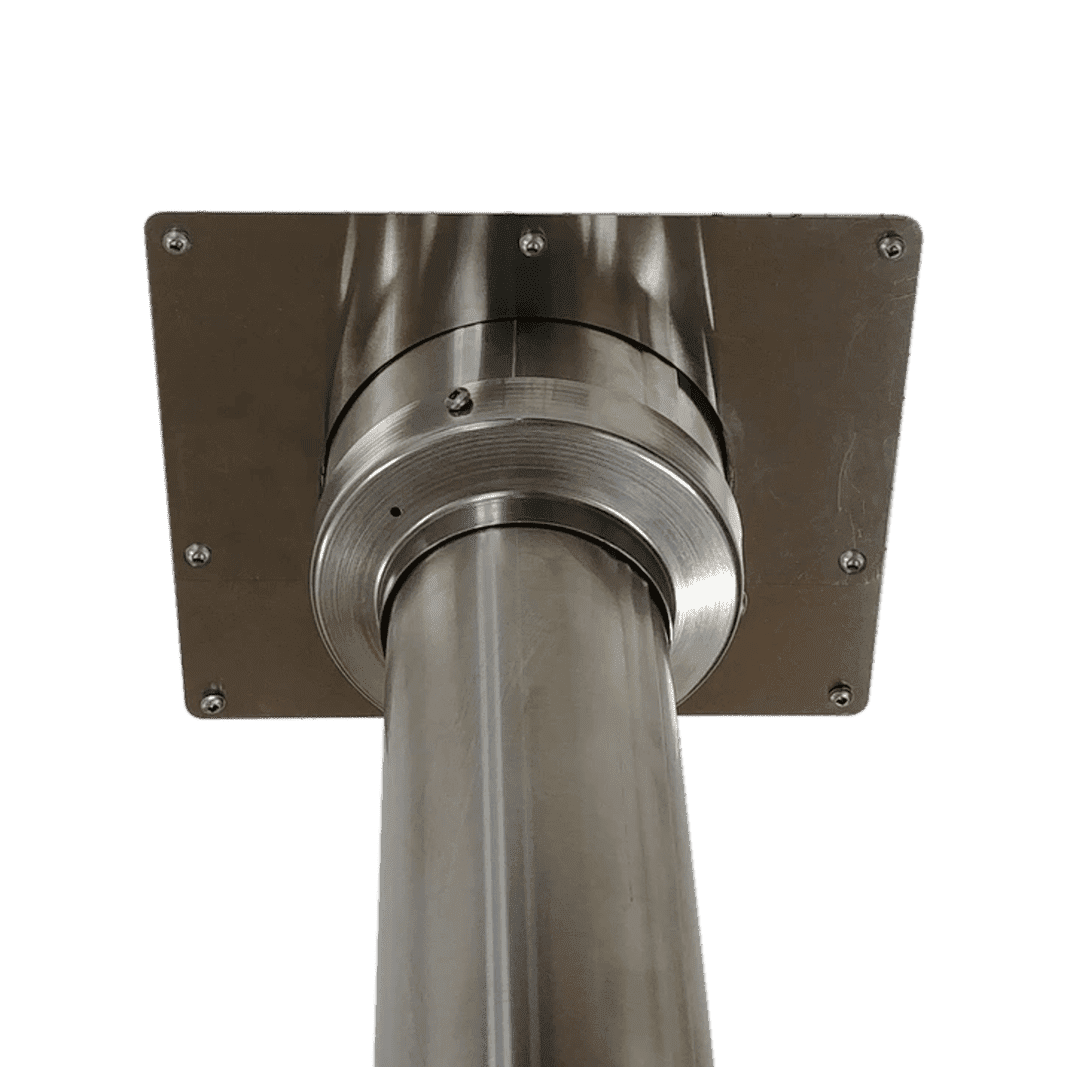
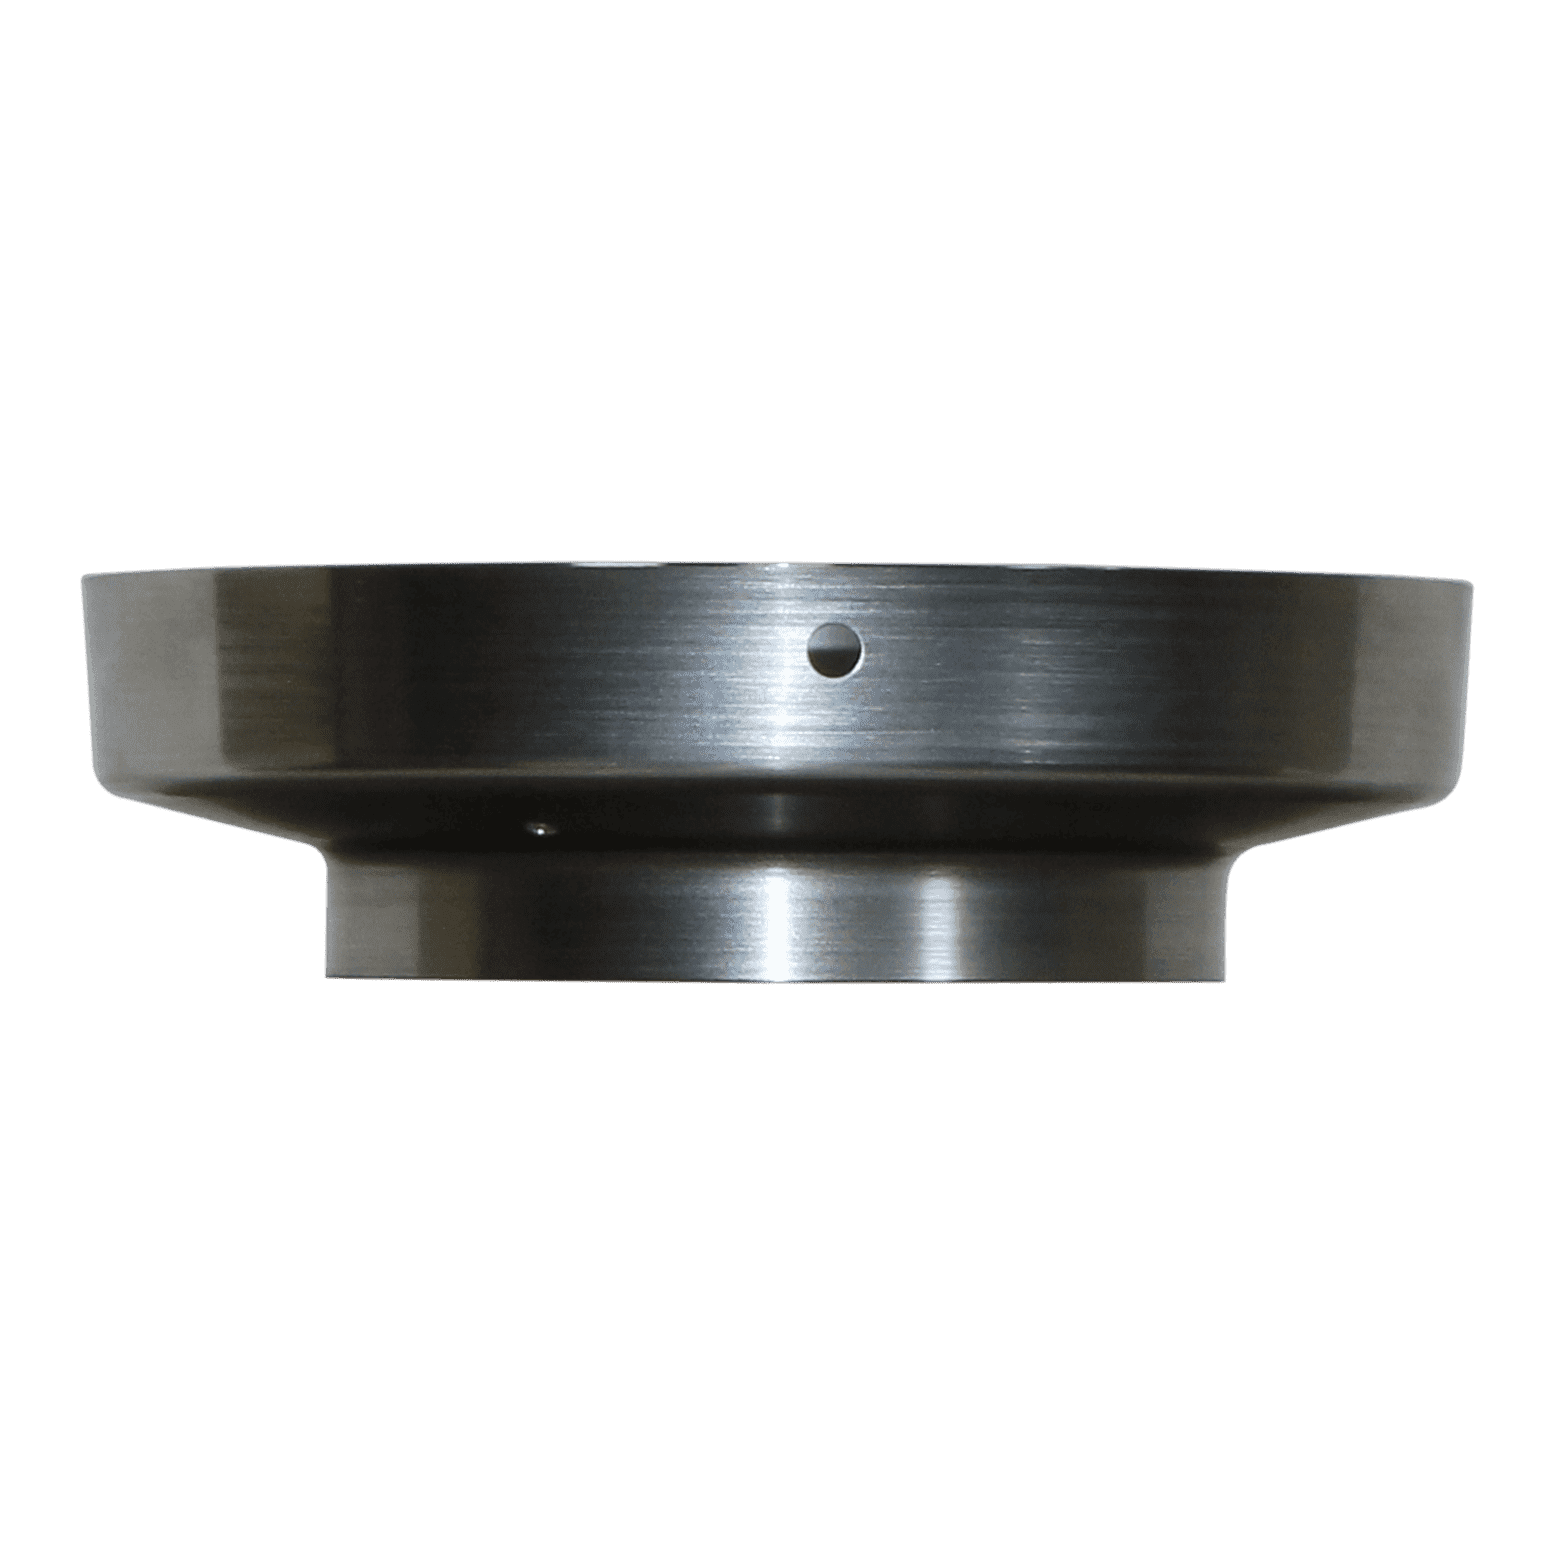
What is the Stainless Steel Ceiling Trim Plate (CB-5029)?
What does the adapter (CB-3050) do?
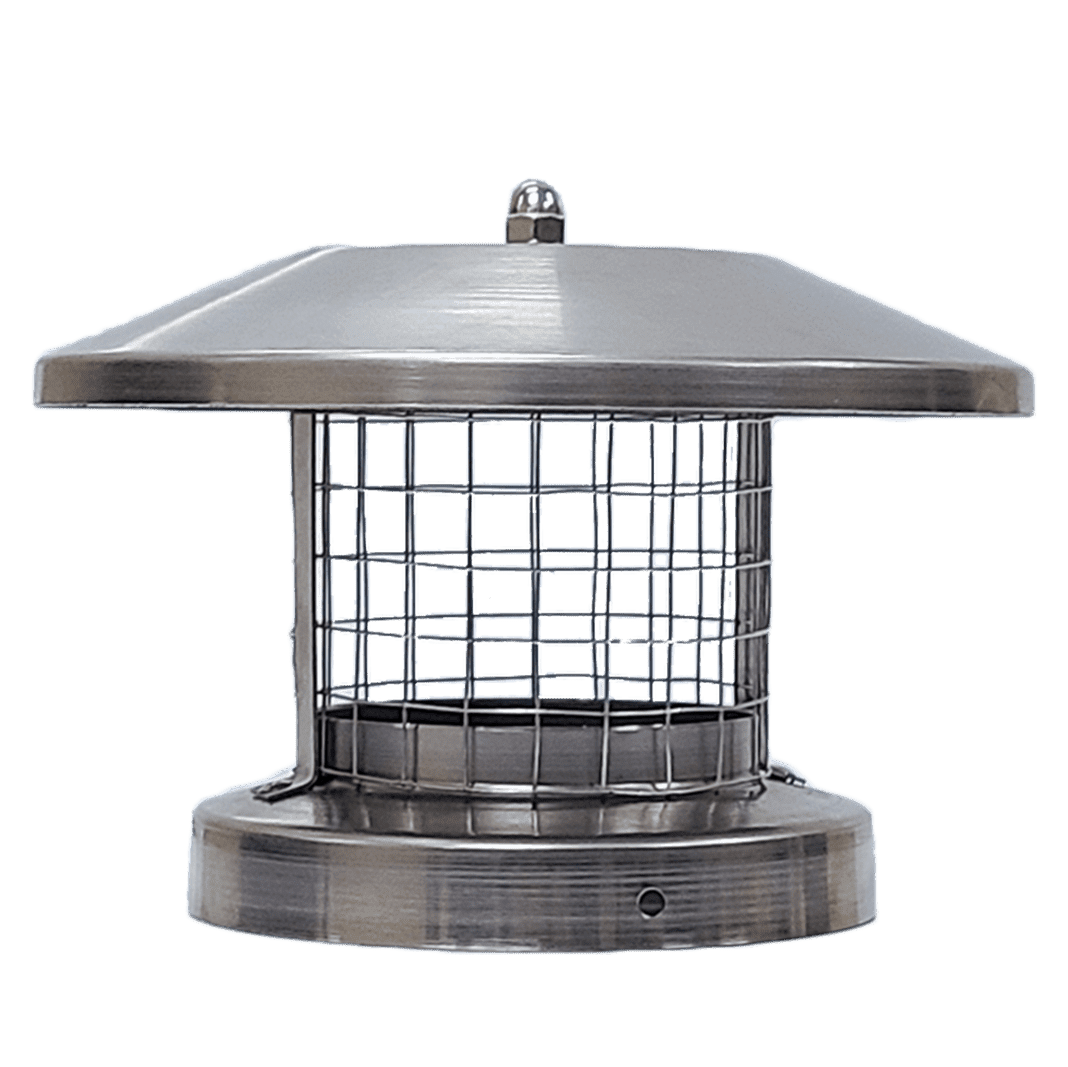
Is the stainless Steel cap (CB-5028) also a spark arrestor?
Where do the support brackets (CB-3027) go?
Do I need to install a damper?
Can I exit the pipe out a side wall?
Can I use an elbow?
Can I use a single wall flue pipe?
Customer Reviews
Based on 5 reviews
100%
(5)
0%
(0)
0%
(0)
0%
(0)
0%
(0)
A
Good quality, fast shipping
Thank you for your review! We are thrilled to hear that you are pleased with the quality of our product and our speedy shipping. We appreciate your support. Have a great day!
J
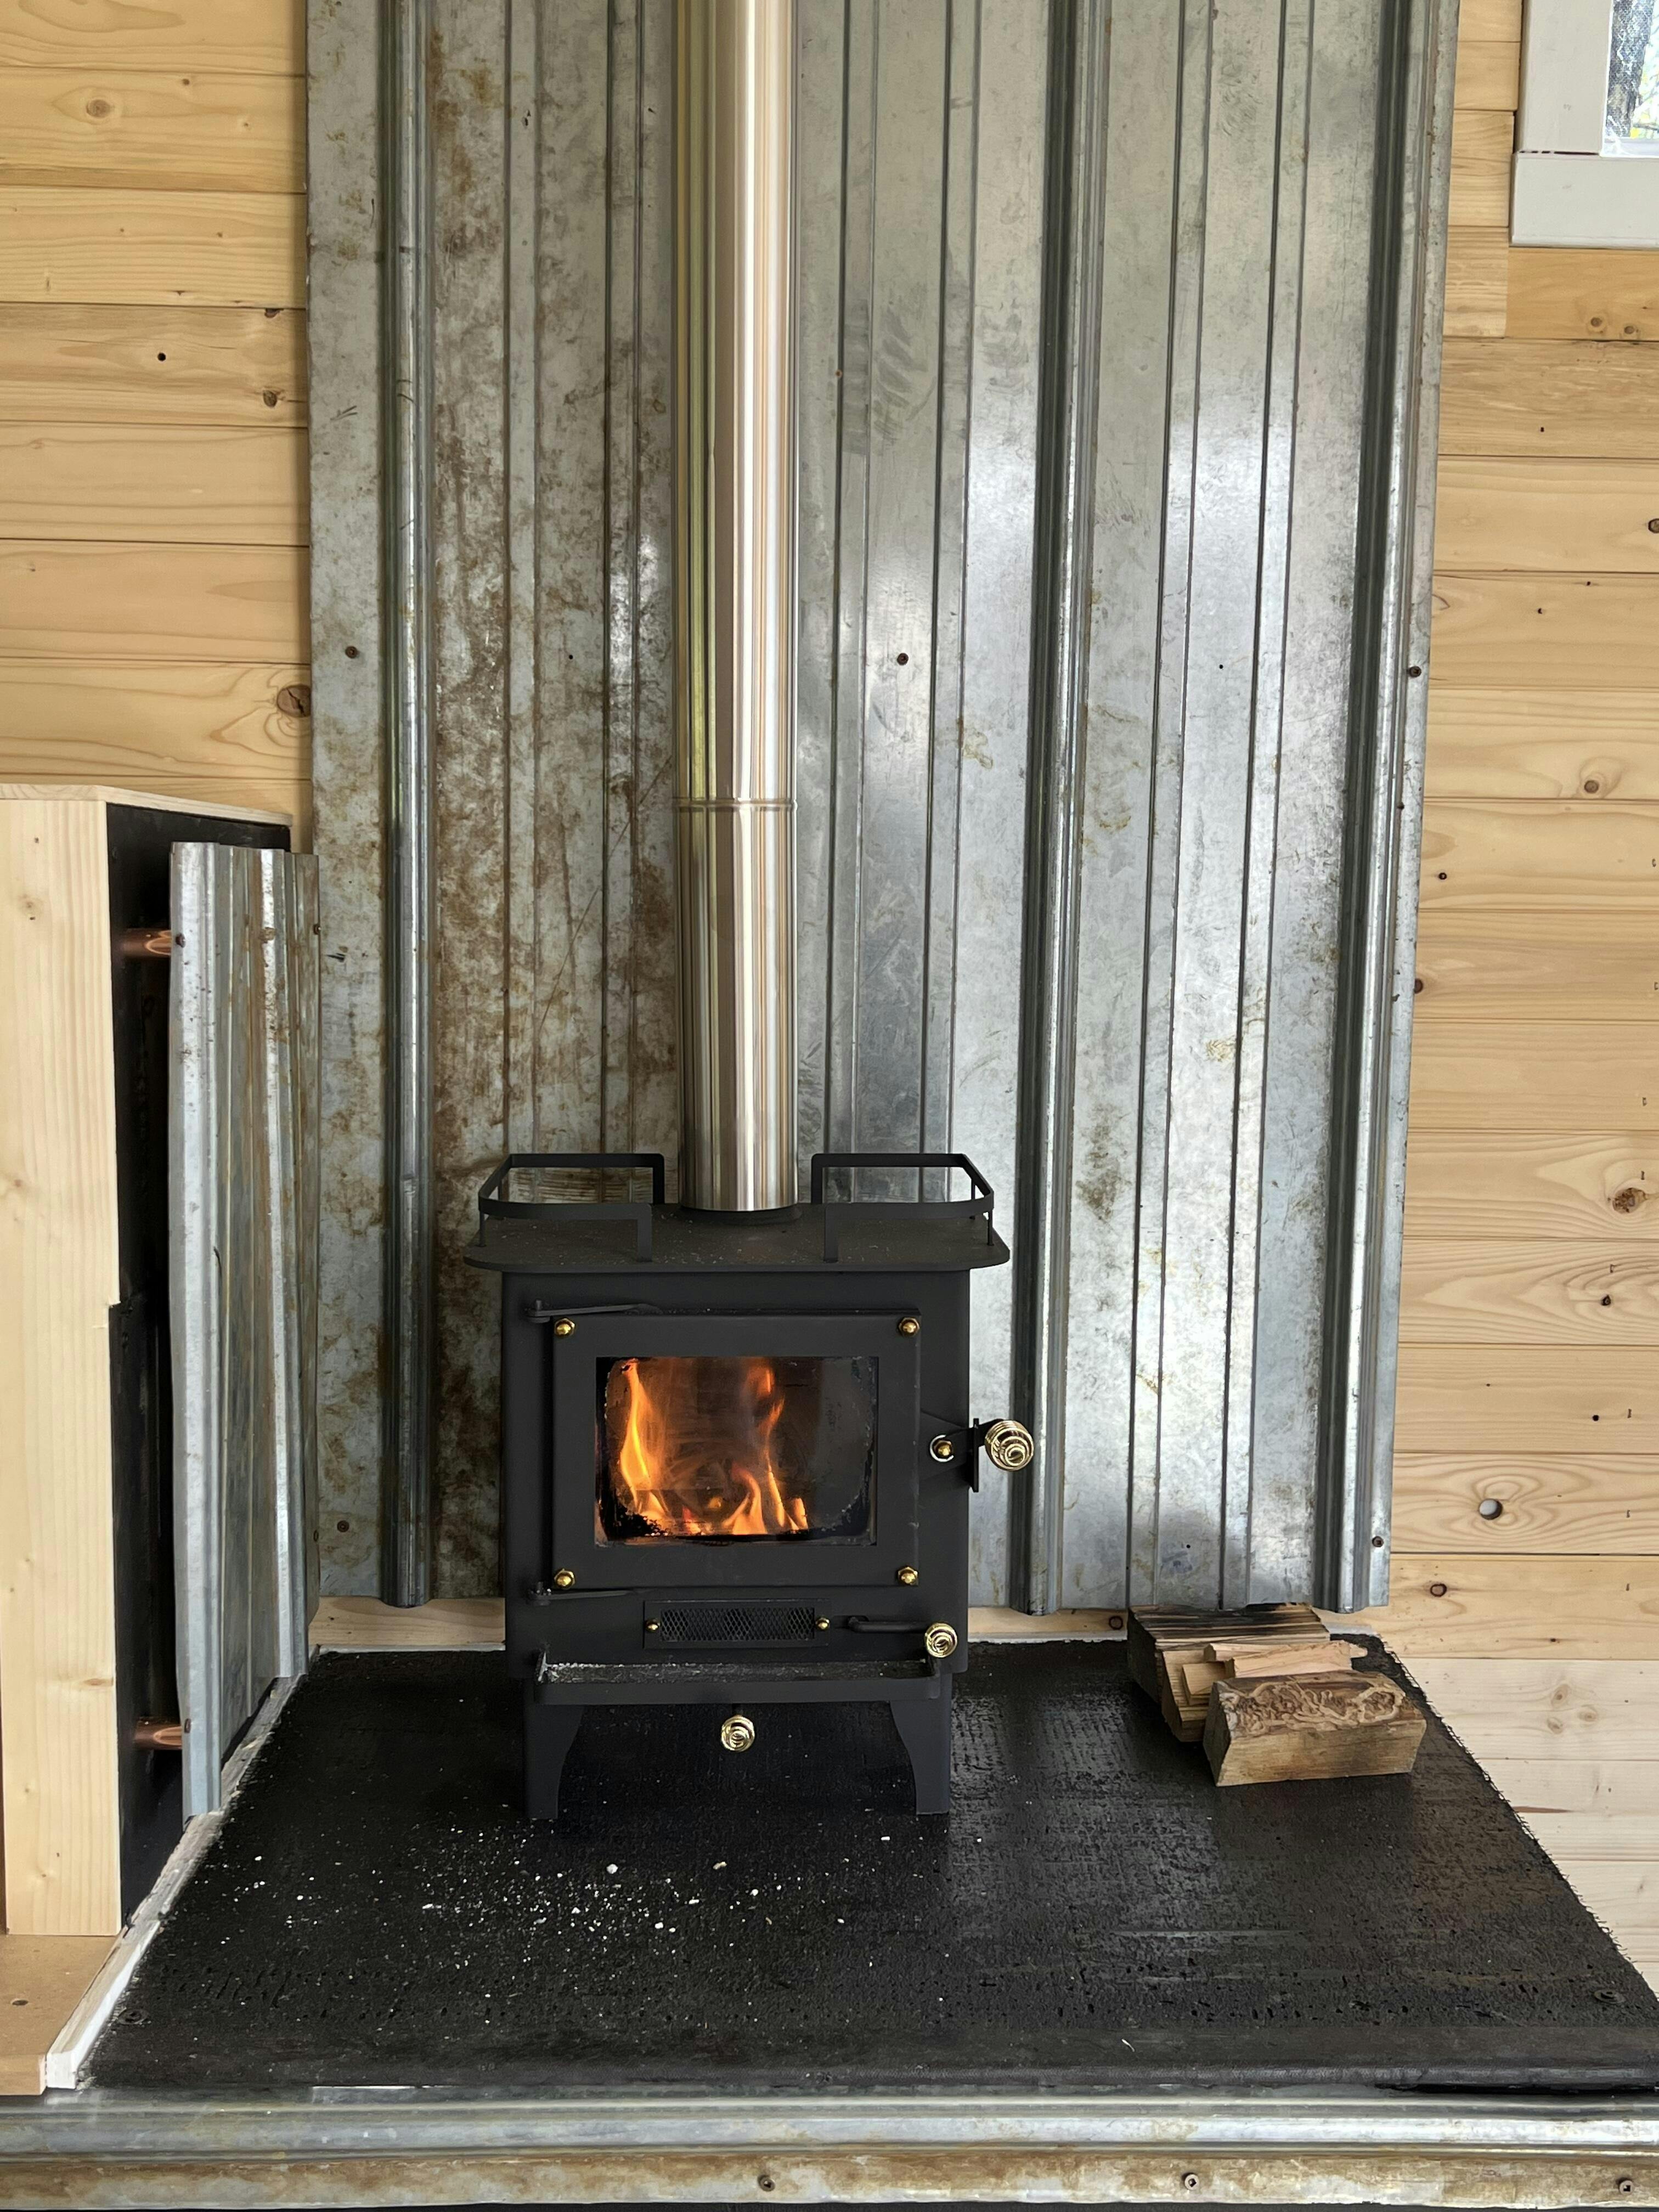
We purchased this stove for our converted caravan. Unsure of what we needed, we had some questions, and Andrew promptly answered them all, reassuring us about our installation concerns. The stove and installation kit arrived quickly and in perfect condition. We're very satisfied with both the product and the service!
Thank you for your kind words! We are delighted to hear that you had a positive experience with our product and our customer support team. We strive to provide quality products and exceptional service to our customers. Thank you for choosing Cubic Mini Wood Stoves and we hope you enjoy your newly converted caravan!
D
Product worked at intended. Easy install. The hardest part is the mental component of cutting a hole in your roof.
See my video install video here: https://youtu.be/f1TI-VFq34E?si=KmIUuNhPJr7HQgrn
Hi Dan, thanks for your review, and a great video. Always nerve-racking putting a hole in the roof.
Thank you
J
Works as designed
A
pefection